
Getting Started with Jetpack Compose Multiplatform

Introduction
Compose Multiplatform allows you to write shared UI code that works seamlessly across Android and iOS platforms. In this tutorial I will show you how to create a basic shared UI using Compose Multiplatform, enabling you to build consistent user interfaces for your cross-platform projects.
Prerequisites
Basic knowledge of Kotlin programming.
Android Studio (for Android development) and Xcode (for iOS development) installed.
Apple Id configured in Xcode.
Step 1: Set Up Your Project:
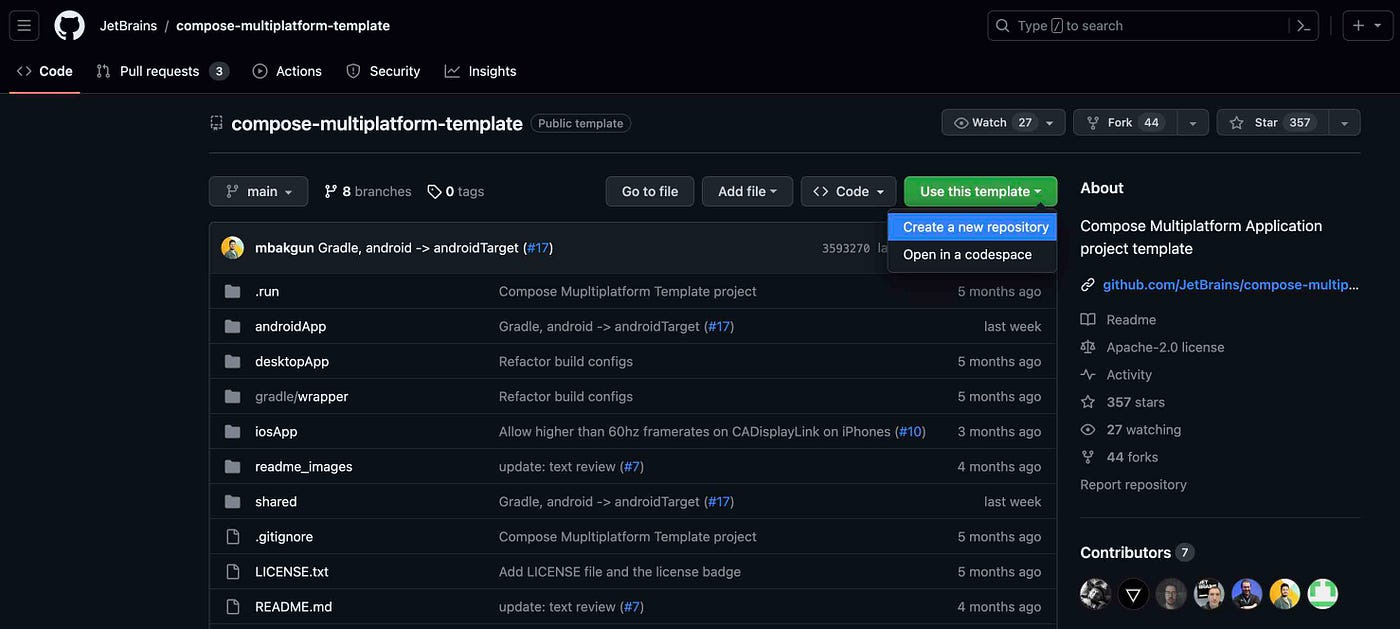
The first step is create and set up a new Kotlin Multiplatform Mobile (KMM) project with Compose Multiplatfom in Android Studio. At the time of this writing there is not any wizard in a release phase yet available in Android Studio, so you have two choices by the moment, use one of these wizards or use template provided by JetBrains, in this tutorial I am going to choice the second option, Jetbrains provides several templates that we can use for start our own project with Compose Multiplatform. So you can create your repository from the following template : https://github.com/JetBrains/compose-multiplatform-template. Select the green button that says Use this template and then choose the first choice Create a new repository.
After that you’ll see the following form where you have to fill the required fields in order to create your repository.
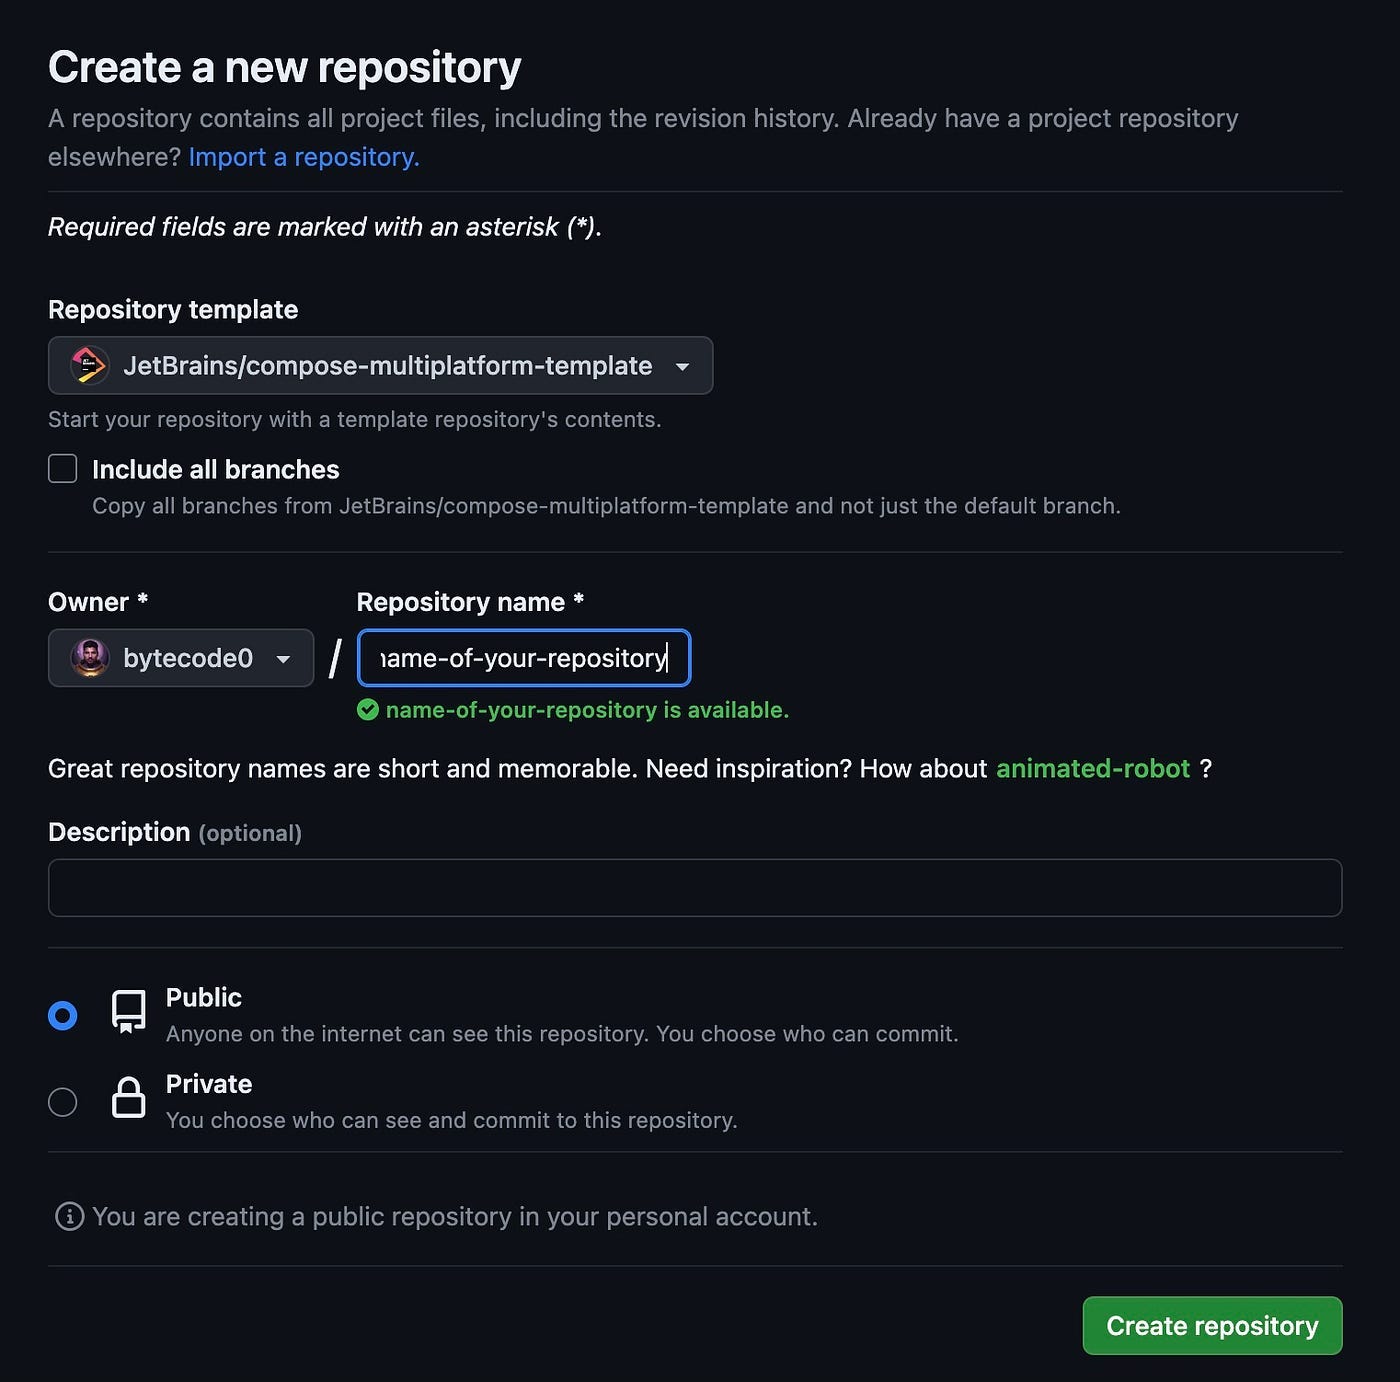
After you press the green button below you shoud see your repository created. Clone your repository in your local machine and now you can open the project with Android Studio. Once you have opened your project the first thing you should do is configure the project name in the settings.gradle.kts.
Open the settings.gradle.kts and change the rootProject.name variable to the name of your project, usually it shuld be the same name of the root folder of your project, by default set to “compose-multiplatform-template”.
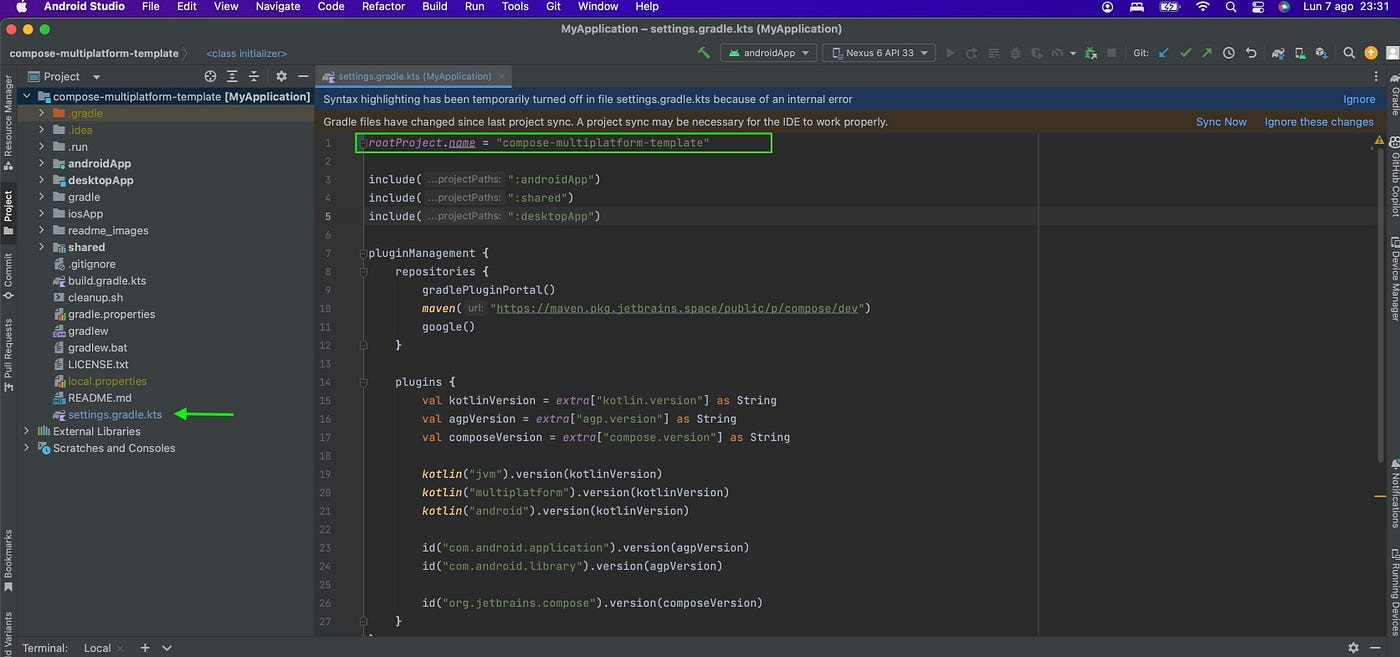
Finally click on the Sync Now button.
Step 2: Let’s biuld the Android application in Android Studio
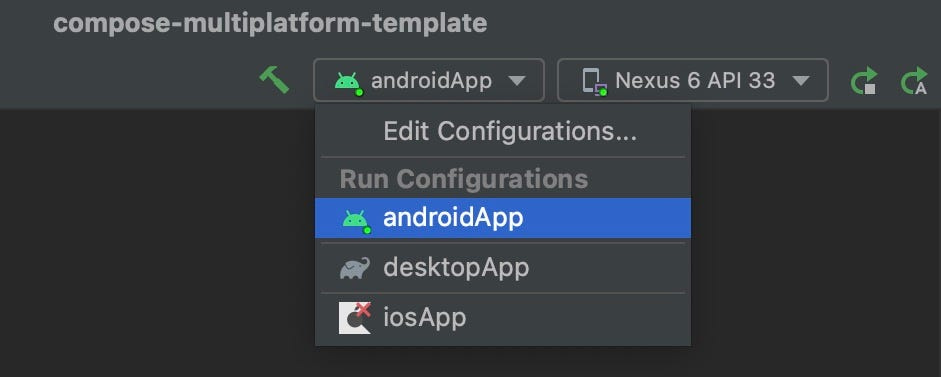
Let’s start by the Android part. Go to the Select Run/Debug Configuration option and select androidApp.
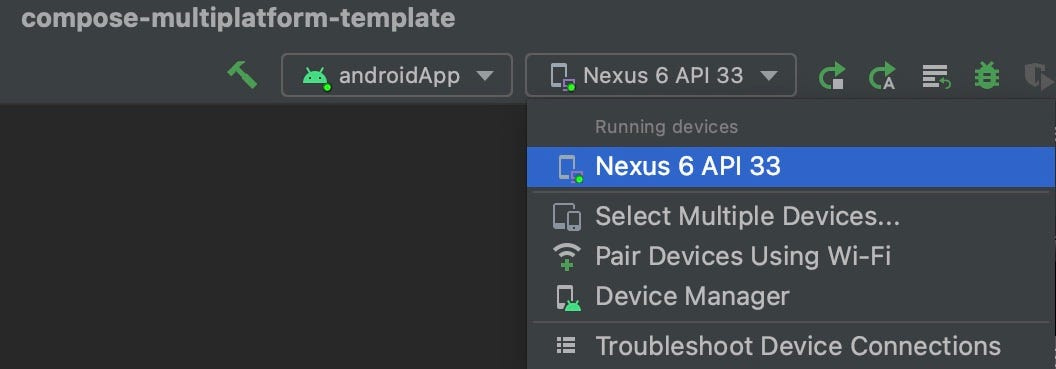
And select the android emulator where you want to run the app, if you have a fiscal device you also can run the app on your real phone.
And finally play the run button on the tool bar next to the emulators selector, if everything was ok you have to see the app running on the emulator or the phone.
Step 3: Running the iOS App in Xcode:
Now let’s go with the iOS app. For be able to run the iOS app is required to open the iOS project using xCode only the first time, after that we’ll be able to run the iOS app from Android Studio.
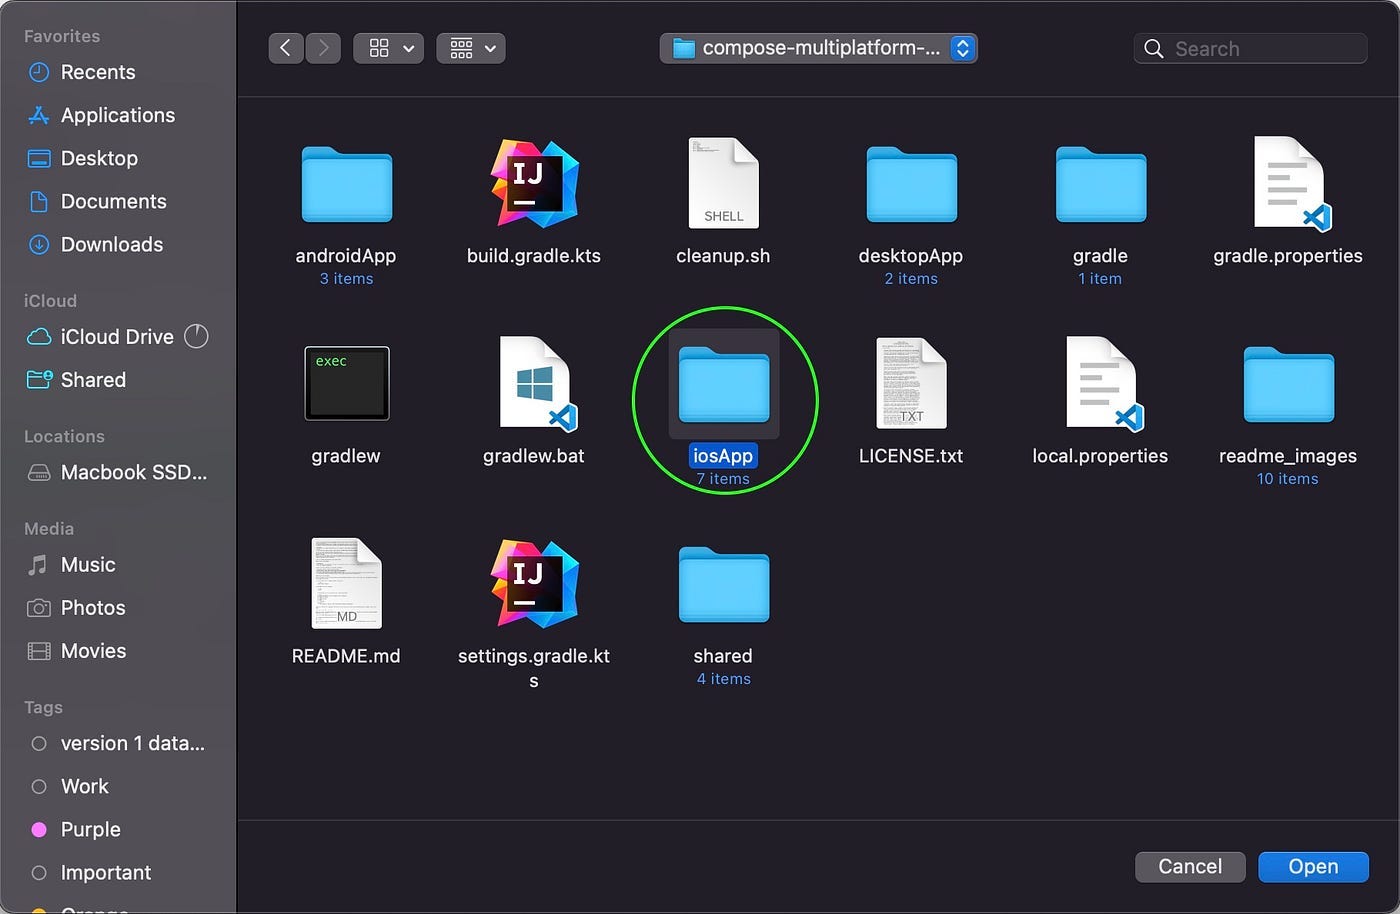
In xCode open an existing project and select the iOSApp folder that is inside the KMM project.
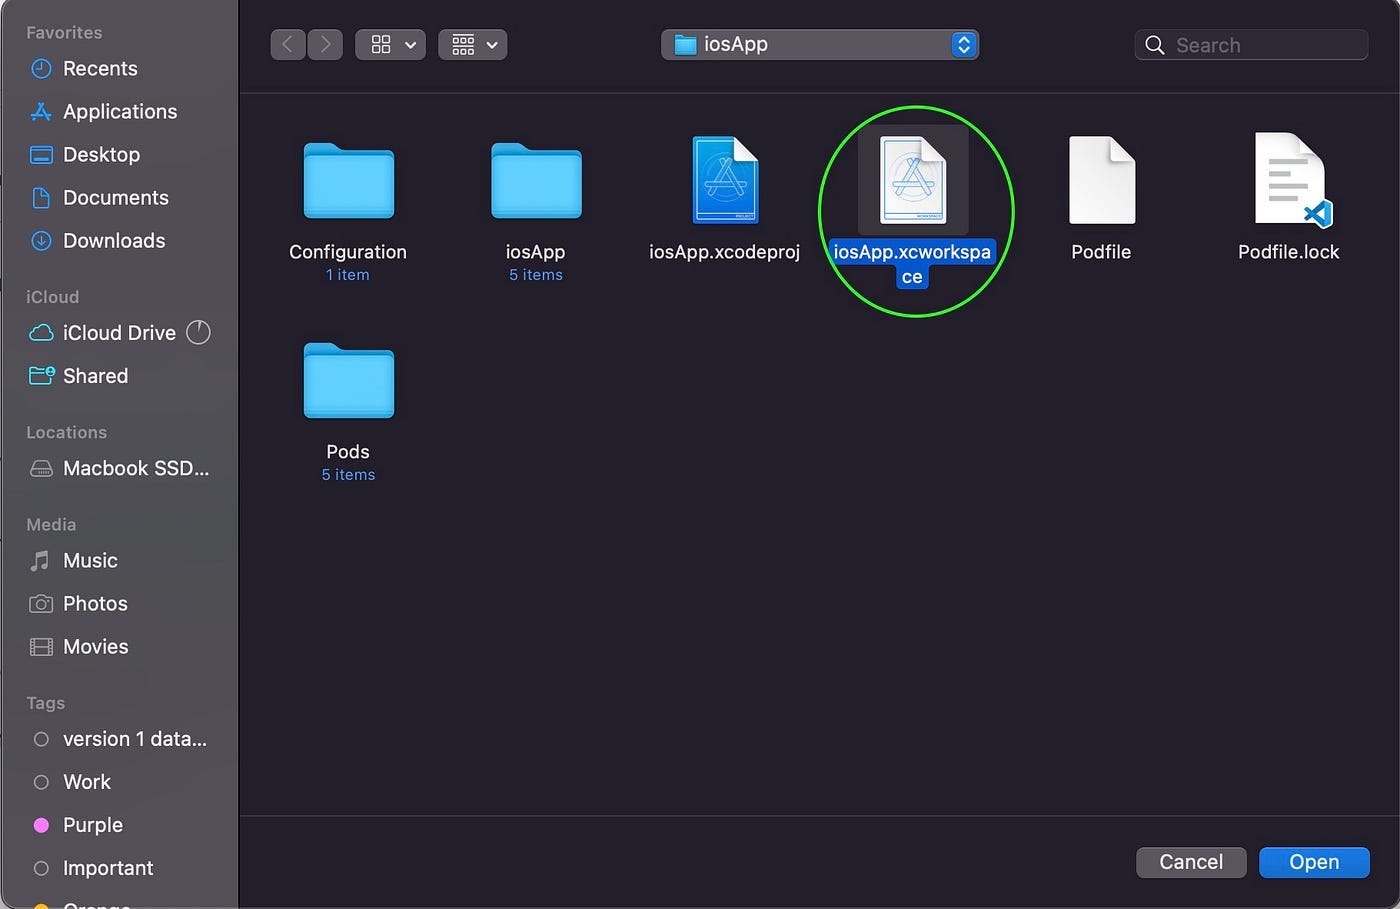
Inside the iOSApp folder select the iosApp.xcworlspace file and click on Open. Make sure of select the xcworkspace one and not the xcodeproj one, only the xcworkspace is the one that install the dependencies that are specified in the Podfile.
Once open the iOS project select the ios App icon on the left and it should open the ios App configuration window on the right. The first issue is we have to solve is the development team by default is none, open the drop down menu and select the development team, if you don’t have any development team configured yet make click on add an account and follow the steps.
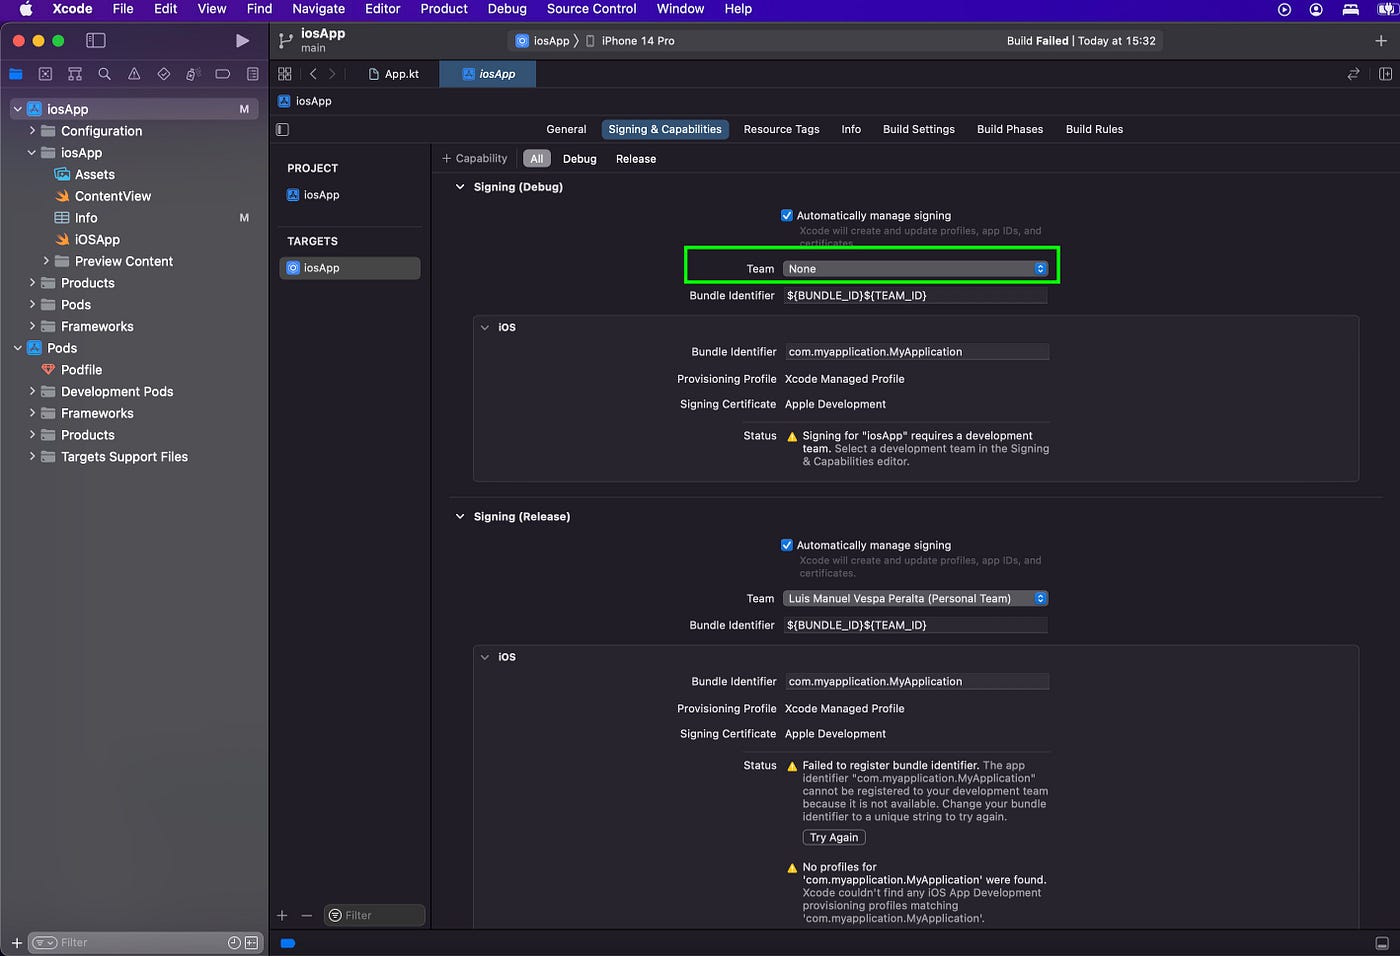
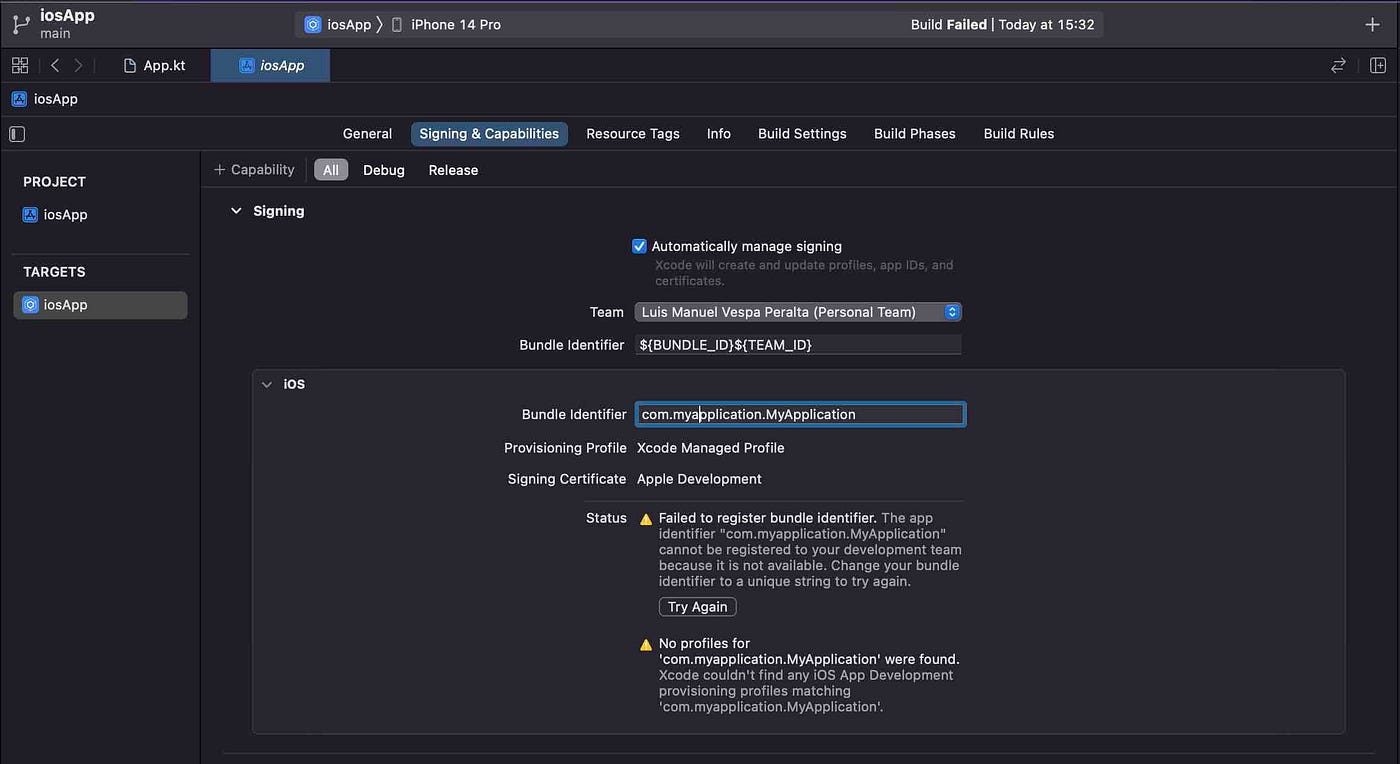
When you have a development team selected then you should see another issue like this “Failed to register bundle identifier”. This is because the bundler identifier is like an ID for the iOS application, this means that the bundle Id can not be duplicated in the apple store, so you have to change the bundler identifier for another one that does not exits on the apple store yet.
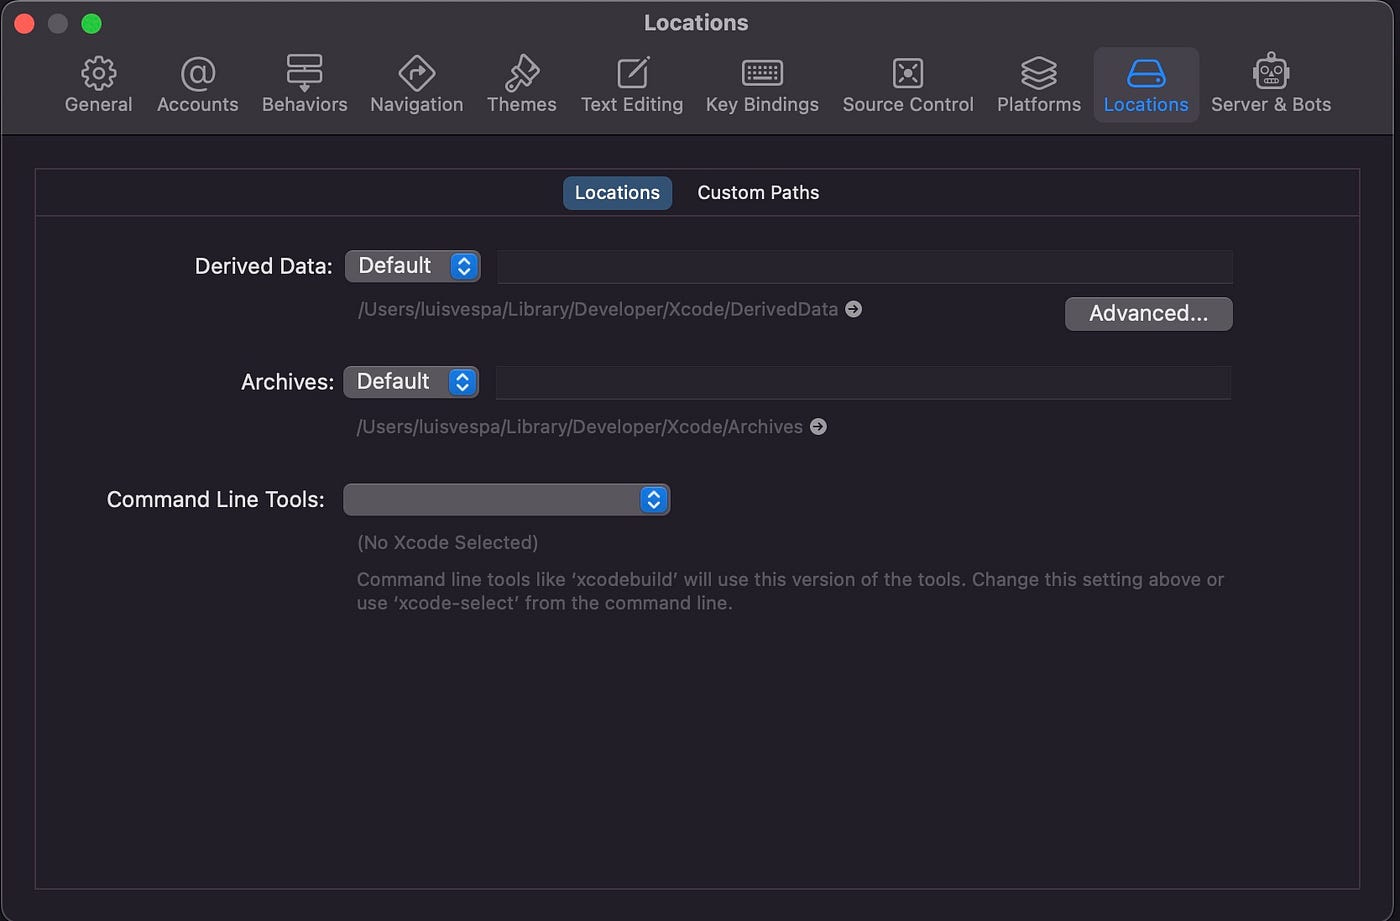
Before go to Android Studio, make sure that you have the Command Line Tools correctly configured in Xcode, for do that go to Xcode -> Preferences -> Locations -> Command Lines Tools and Select a Xcode version. Once you have a Xcode version selected properly you can go to Android Studio

Step 4: Running the iOS App in Android Studio:
The template project already have run configurations available for each platform, Android, Desktop and iOS, once in Android Studio select the iosApp run configuration in the drop down list on the top bar, if you open the iosApp configuration file you’ll see all variables like the execution target (emulator) and others. As you can see on the picture below.

Play the run button you’ll see how Android Studio starts building and runs the iOS app as you can see below.
Finally, you should be able to run both iOS and Android from Android Studio!
If you was able to run your iOS and Android version successfully, Congratulations! now I’d suggest continue your compose multiplatform learning journey in the second part of the tutorial
Enjoy coding…